
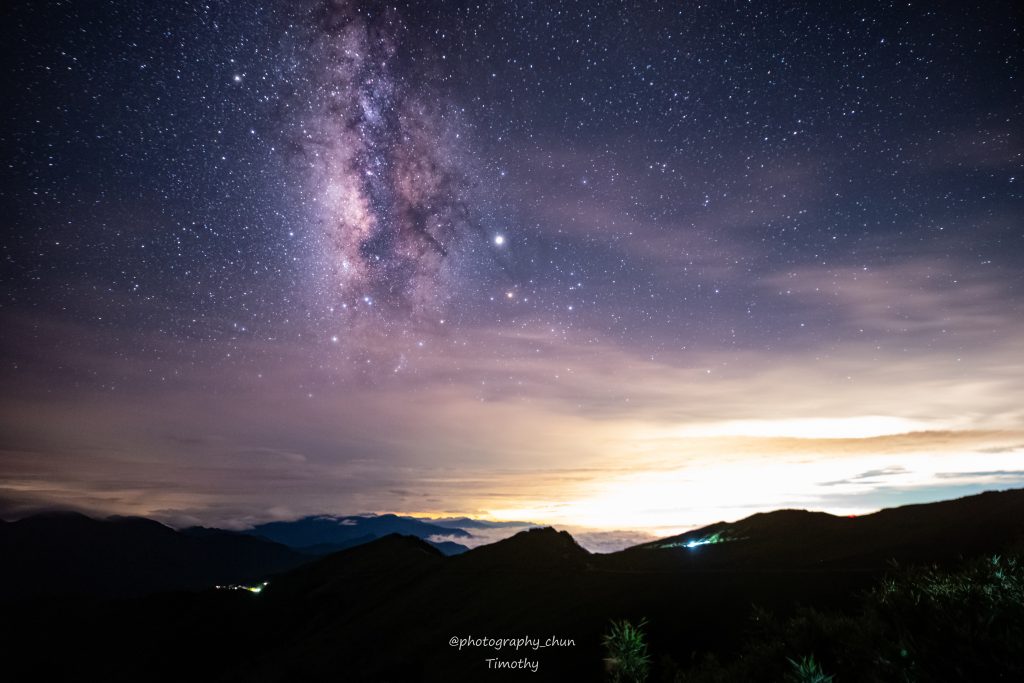
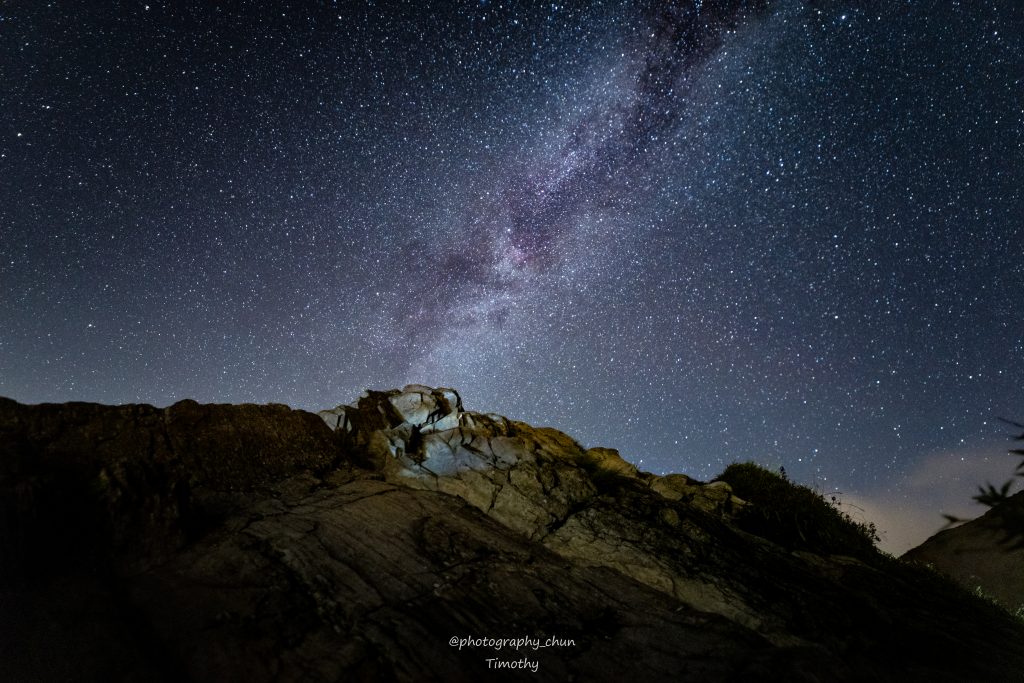
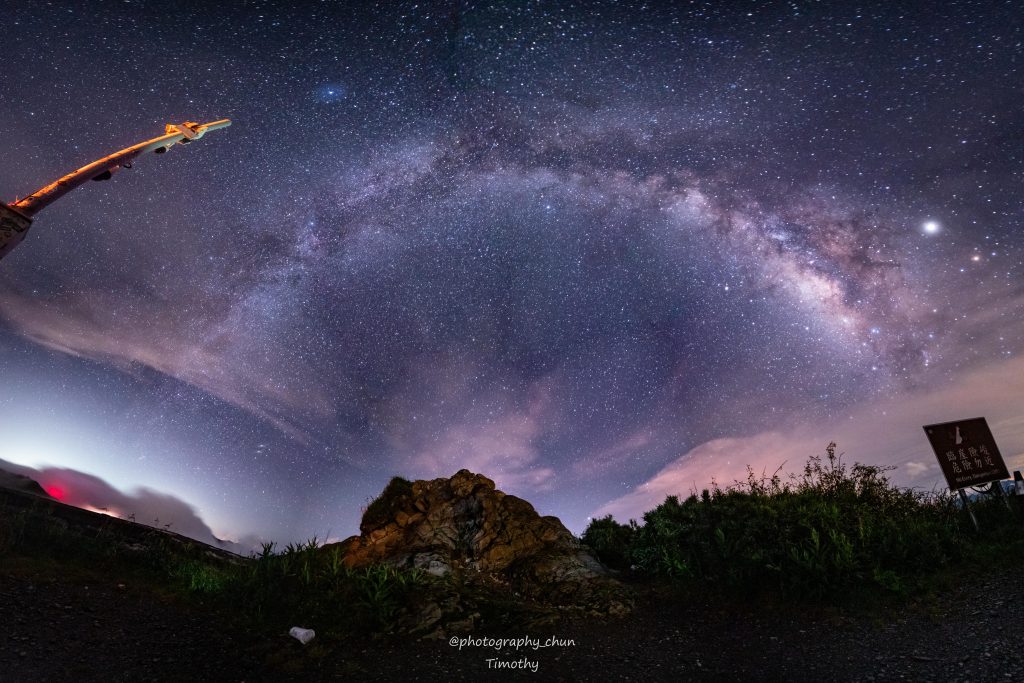
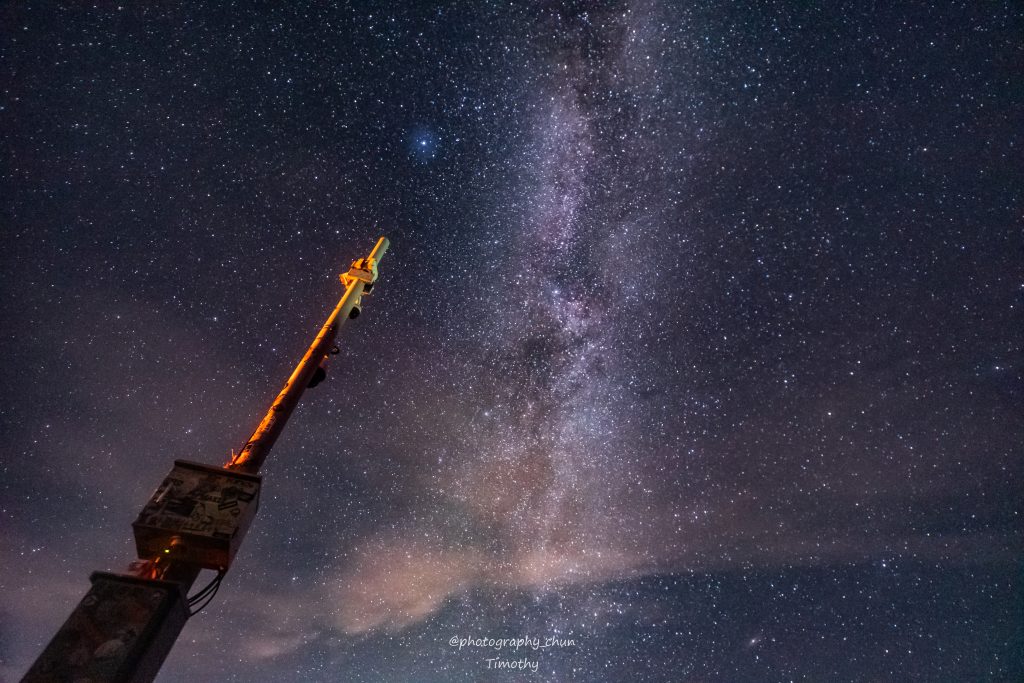
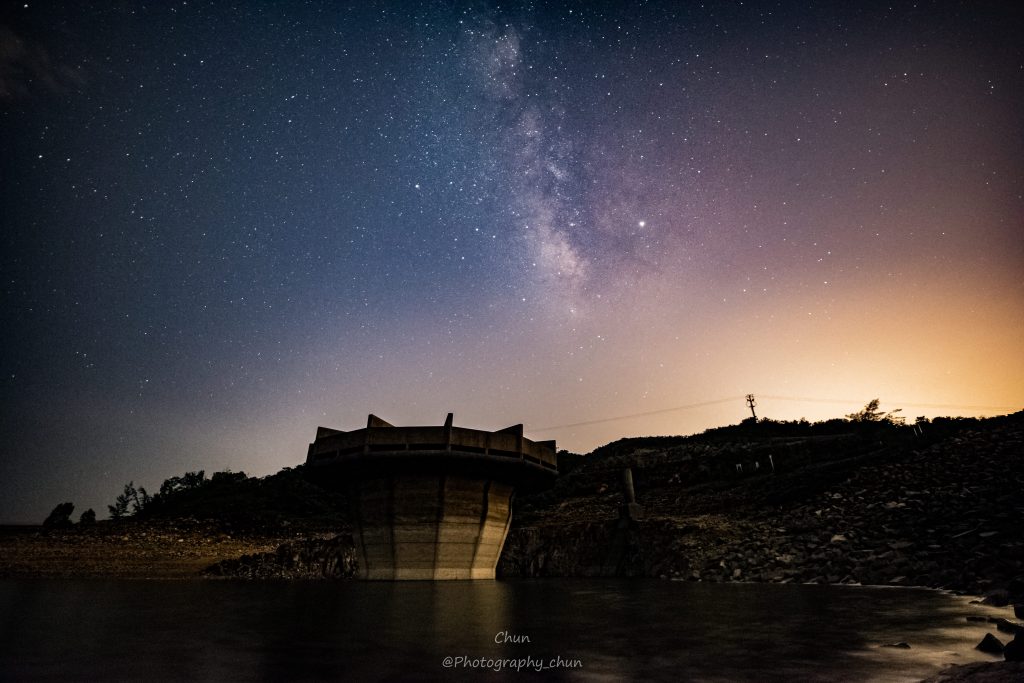
Step 1 A dark sky
A dark sky free of light pollution is the first and most important requirement to the Milky Way. Be prepared to travel a considerable distance, otherwise, you run the risk of city lights making their mark in your shots. The moon can have a similar impact on your Milky Way photos; shooting during a full moon will wash out your images.
Step 2 Equipment
Digital camera
You’ll be shooting at night with very little available light(usually from 3200-12800); you want your camera’s sensor to be able to handle the shooting conditions without introducing an excessive amount of noise. A camera with good high ISO performance is more preferable.
Fast wide angle lens
A lens with a maximum aperture of at least f/2.8 is more preferable; the faster the better. It’s not that you’re totally out of luck if your fastest lens is f/3.5 or so, but you’ll have more of a challenge on your hands since the lens won’t be able to gather as much light. The same principle applies to focal length; go as wide as you can. You may be seeing only a fraction of the Milky Way, but it’s still monstrous in size. The wider your lens, the more of it you can capture.
Tripod
This really isn’t optional, you must have it for a long exposure.
Step 3 Exposure
It’s the most important part of photography since the earth is spinning itself and stars are moving, the shutter speed should not be too slow.
The 500-rule
For example, if the focal length of the lens is 15mm, the maximum shutter speed is 500/15mm=~33s.
500/The focal length of the lens=The maximum shutter speed
Aperture
Just simply turn the aparture to the fastest one
ISO
It’s affected by the light pollution of the environment
Last Step
Simply press the shutter and enjoy it!
0 Comments